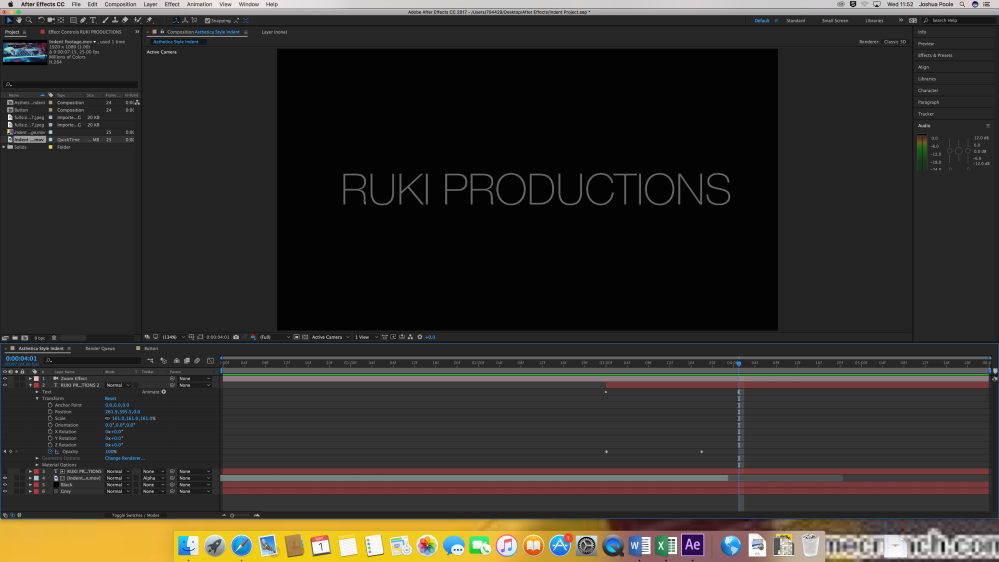
Once my ident was planned and the techniques were researched I could begin creating the project.

The first stage of this project was to insert my showreel footage onto the timeline. Before inserting the footage I trimmed it down to 5 seconds which was the desired length of my ident. I also picked specific footage that would look interesting behind text, I went for footage with more vibrate colours so that you could define the text more.

The second stage of the project was to insert the text. Using my chosen font ‘Helvetica’ I inserted the text onto the timeline. Once the sizing was correct, using my finished logo as. template, I then inserted Alpha Matte onto the video which filled the text with the video.


The next step to was to insert a 3D camera into the project to create the zoom effect. I created this zoom effect by changing the position of the camera from being all the way in moving all the way out through the text. This could have also have been done by scaling the text up and scaling it back down however this would have meant that it was scale up the video and pixelate it, which isn’t what I wanted to do, I wanted to ensure the video was clear to see until the point it changed to a solid colour.


I then duplicated the text for the next stage which was to transform the video fill into a solid colour. I could have used the same layer of text however when I took away the second layer it turned the text into a solid colour and took away the video fill. But by turning the lower layer of text off this allowed me to change the opacity of the new colour of the text whilst keeping the video fill. I inserted my logo onto the timeline to allow me to get the correct colour match for the font I picked during my brand identity designing. I could have copied and pasted the colour code from Adobe Colour but this was a much quicker way to do it.


To change the colour opacity I had to start on 0% and finish on 100% opacity this is shown above. This was to allow the top layer of text to gradually cover the lower layer of text with the solid colour.

To also give the effect of a sweeping reveal I added a range selector animator to reveal the letters one by one as the opacity was changing. I had to ensure that the letters were covered individually so the offset had to be set to 7% and the start selector changed over time from 0% – 100%. I arranged the keyframes around to speed up and slow down the transition.
I then decided that I wanted to replicate the logo so I also wanted to change the background colour to match. I inserted my completed logo in again to colour match the actual colour for the background.


Using the same method as changing the colour of the text, I also changed the opacity of the background colour so that it would gradually change over time. I easy eased the start and finish of the transition of colour so that it was smoother.
To finalise and tidy up the project I changed the duration of the video when the colour of the text changes as you could still see the video slightly behind the text. This eliminated that problem I also experimented with making the top layer of text bigger than the lower layer, however it did not work.