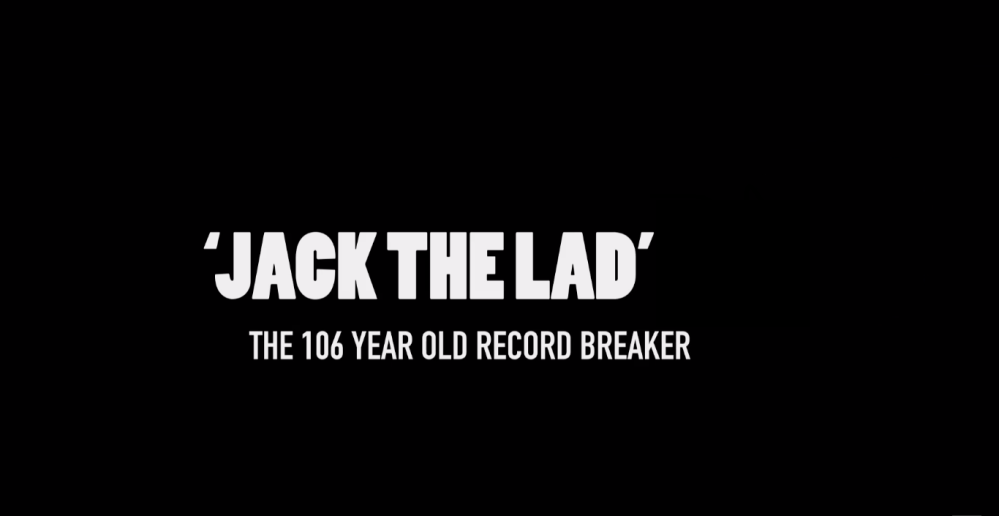
To start the project was quite simple. I opened Adobe After Effects and firstly inserted the text to where it would end up on screen at the end of the sequence. I ensured all the sizing was correct before continuing to the next step.
After finding a suitable PNG file of the Guinness World Record Logo, I could then insert then insert that into the project and start following the steps within the video I found.
![]()
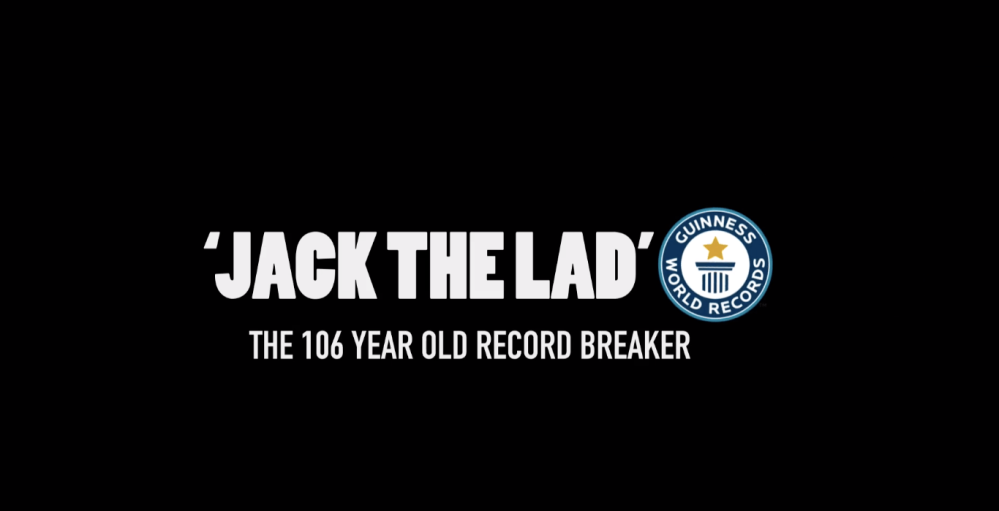
After cropping the logo, to get rid of the TM symbol I was then in a position to follow and adapt the steps to fit what I wanted to do with my project.
What I did, like in the video, was create a circle shape with a square in the middle, the same size as the GWR logo and position it out of the camera, as well as rotate it to give the illusion of it stamping like real life.
On the position movements I easy eased both in and out so it would have a smoother slowing down effect. 
When inserting a null object, this was parented to the rest of the objects on the timeline as this was the power behind creating the impact effect of the stamp hitting the screen. I added a slider to the null object which was set to start from 0 – 50 – 0 again so that also could power the rumbling effect too.
The next step to creating the impact effect was to insert the expressions, from my research which I undertook in the Pre Production planning stage, I understood what an expression was and what it allowed an object to do. I do not know how to write code, however, luckily the video tutorial provided me with a link to a website which already had the expression written for me: (http://www.graymachine.com/top-5-effects-expressions/). This saved a lot of time overall, all I had to do was copy the script and paste it onto the slider control stopwatch. After that, I had to give the positioning tool on the null object again, an expression to Wiggle as much as the slider does.
In the video the guy explains why I chose to do it this way and not with a camera. The answer to this is simply because I wanted to replicate real life. If something hits the floor it isn’t the camera that moves it is the ground that shakes.
The last part of making this stamp effect was to attach the GWR logo to the null object to replicate the same animation. I also deleted the shape which helped create the effect so that I could replace it with the logo. And that completed the impact effect.
The final part of the title sequence was to animate the slide in of the text.

To create this I animated the X axis position to start off screen for each text group. The ‘Jack The Lad’ text came from the left and the ‘106 year old record breaker’ came from the left. I moved the keyframes to time the animations appropriately with the impact animation. I then switched on motion blur to add more realism to the animation.
Once the animation was completed, I added it to the edit on my video editing software to where it fit in to the edit of my documentary. Whilst in the video editor I inserted the sound effects for the animations and added the effects to change the pitch and reverb if the sounds too, this added small details which gave the illusion that two different sized pieces of text were flying in together. I could have used another program such as Adobe Audition or After Effects however I felt that it wasn’t a complicated task and that Final Cut would be a suitable program to use.
