Once I understood what the camera functions are like aperture and shutter speed, and how to use them properly. I could experiment with them and get creative using all the features of the camera such as: Aperture, Shutter Speed, Intervalometers, ISO and lenses.
Apperture
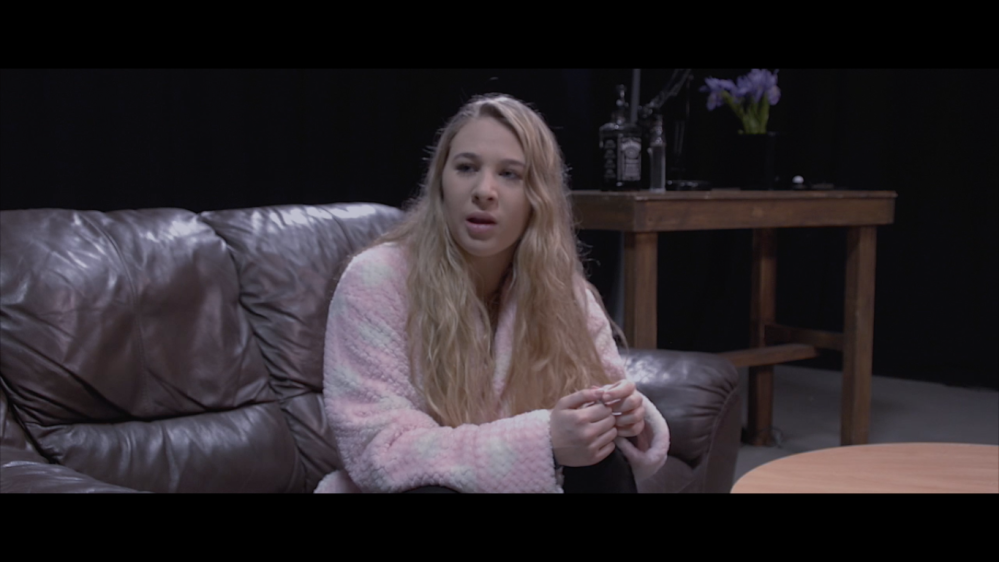
Aperture can be used to expose and focus a shot. In the TV studio, as a group we created an artificial lit environment this meant that we had to expose the Sony FS700 correctly using the right F-stop which was calculated by a light meter.

Another way I used aperture was with a shot for the Whitby project. I took a shot which started on a medium shot of the subject which was out of focus due to a shallow depth of field. This meant that my aperture had to be wider to help the correct exposure.

Shutter Speed
Usually the normal shutter speed when filming is set to 1/50 of a second. However to experiment with shutter speed I used the FS700’s slow motion feature. To film slow motion you must increase the frames per second as well as the shutter speed to make sure you have enough light, usually it’s almost double the shutter speed to the frame rate.
Time lapse and Shutter speed
Another way shutter speed can be used creatively is through light painting. This is where you lower shutter speed which opens the sensor up for longer and exposes more light onto it. This works better in dark places and using a single light and moving it round in one movement to make it look like you are painting something in the air. This is usually done with a DSLR as you need an intervalometer to take numerous photos to animate the shot.
When I tried light painting and playing with shutter speed, I decided to do a time-lapse from a high angle looking over the cars. This was does by holding the shutter open for 10 or 20 seconds before the next picture was taken. This gave the effect of the traffic having light trails, and with both the front and back lights, this gave the contrast of red and white colours as well as when cars were stationary it added to the overall video.

Time lapse
Another time lapse I did took around 2 hours. It was a cityscape over looking Sheffield. Using the mathematics calculating the intervals between the shots taken and the amount of shots taken I got around 30 seconds of footage. This faced me with a challenge of keeping the correct exposure as it was a sunset and the light was slowly changing however I wanted to see the lights appear when the sun went down. That is why I used the AV mode so I could change the aperture only to maintain the right amount of light and exposure for each shot.
ISO
Using the correct ISO is key to getting good quality shots. Keeping the ISO as low as possible stops your images becoming grainy. However, sometimes grain can be used as an effect to give your film a certain feel. For the Whitby project, when I was filming I decided to use a higher ISO than usual as well as artificial lights to give a ‘gritty’ effect. This was due to our genre of film which was horror. In previous projects such as factual pieces as well as studio fiction pieces I would stick the ISO as low as possible due do wanting as better quality footage as possible. The problem with too much grain is that it is harder to colour grade and expose in post production.


Lenses
Picking the right lens is just as important than any other feature on a camera. There are different characteristics and purposes of lenses. Specifically on a DSLR I experimented with two types of lenses. This was with help from a gimbal.
When using a gimbal you are moving around or tracking something and often the light can change when you move. Using prime lenses helps as they can have a wider aperture and a fixed focal length. This means that you get a lot of light in and you also don’t have to worry about zoom. For the Whitby project I decided to take the 24mm lens as well as the 50mm lens. This was due to giving us the variation of a wider lens and a less wider lens. I knew that we would be filming in a house so the lens would open up the space more, as well as open the aperture. The 50mm lens would allow us to feel closer to the character and feel more secluded when tracking them. On the Sony FS100 there is an 18-55mm zoom lens which we also used. Often we had conversation shots and the characters were a distance away, so what a zoom lens allowed us to do was zoom into the two characters to give the illusion that they are closer together.

